Repotting Indoor Plants Without Killing Them
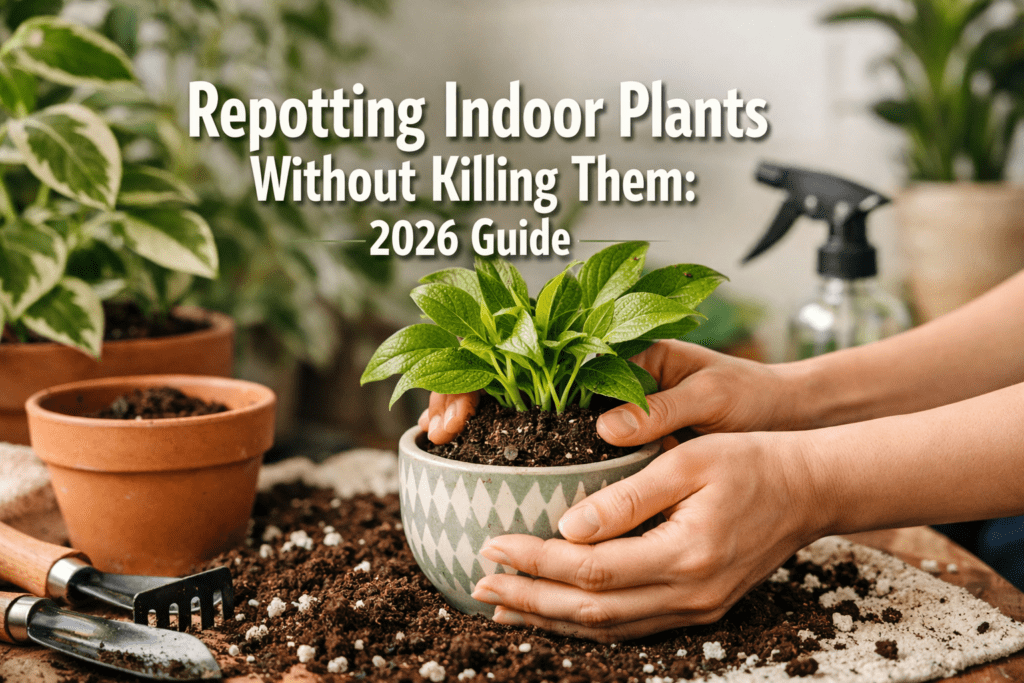
Repotting indoor plants is a crucial, yet often intimidating, step in their long-term care that directly impacts their health and growth. While the thought of disturbing a thriving plant can cause hesitation, mastering the art of repotting is essential for preventing root bound conditions, replenishing nutrients, and ensuring your green companions continue to flourish. This comprehensive guide will walk you through repotting indoor plants without killing them: a complete guide, ensuring a smooth and successful transition for your beloved houseplants in 2026.
Key Takeaways
- Timing is everything: Repot in spring or early summer when plants are actively growing.
- Signs of needing a new home: Look for roots circling the pot, stunted growth, or constant thirst.
- Choose the right pot: Opt for a pot only 1-2 inches larger in diameter with drainage holes.
- Select appropriate soil: Use fresh, well-draining potting mix specific to your plant’s needs.
- Gentle handling: Minimize root disturbance during the transfer process.
- Post-repotting care: Water thoroughly and provide a period of reduced stress.
- Avoid over-potting: Too large a pot can lead to excess moisture and root rot.
- Don’t fertilize immediately: Wait several weeks after repotting before applying fertilizer.
When Should You Repot Your Indoor Plants?
You should repot your indoor plants when they show clear signs of being root-bound, typically every 12-18 months for fast growers or every 2-3 years for slower-growing varieties. The best time for repotting is generally in spring or early summer, aligning with the plant’s natural growth cycle, which helps it recover faster from the stress of the process.
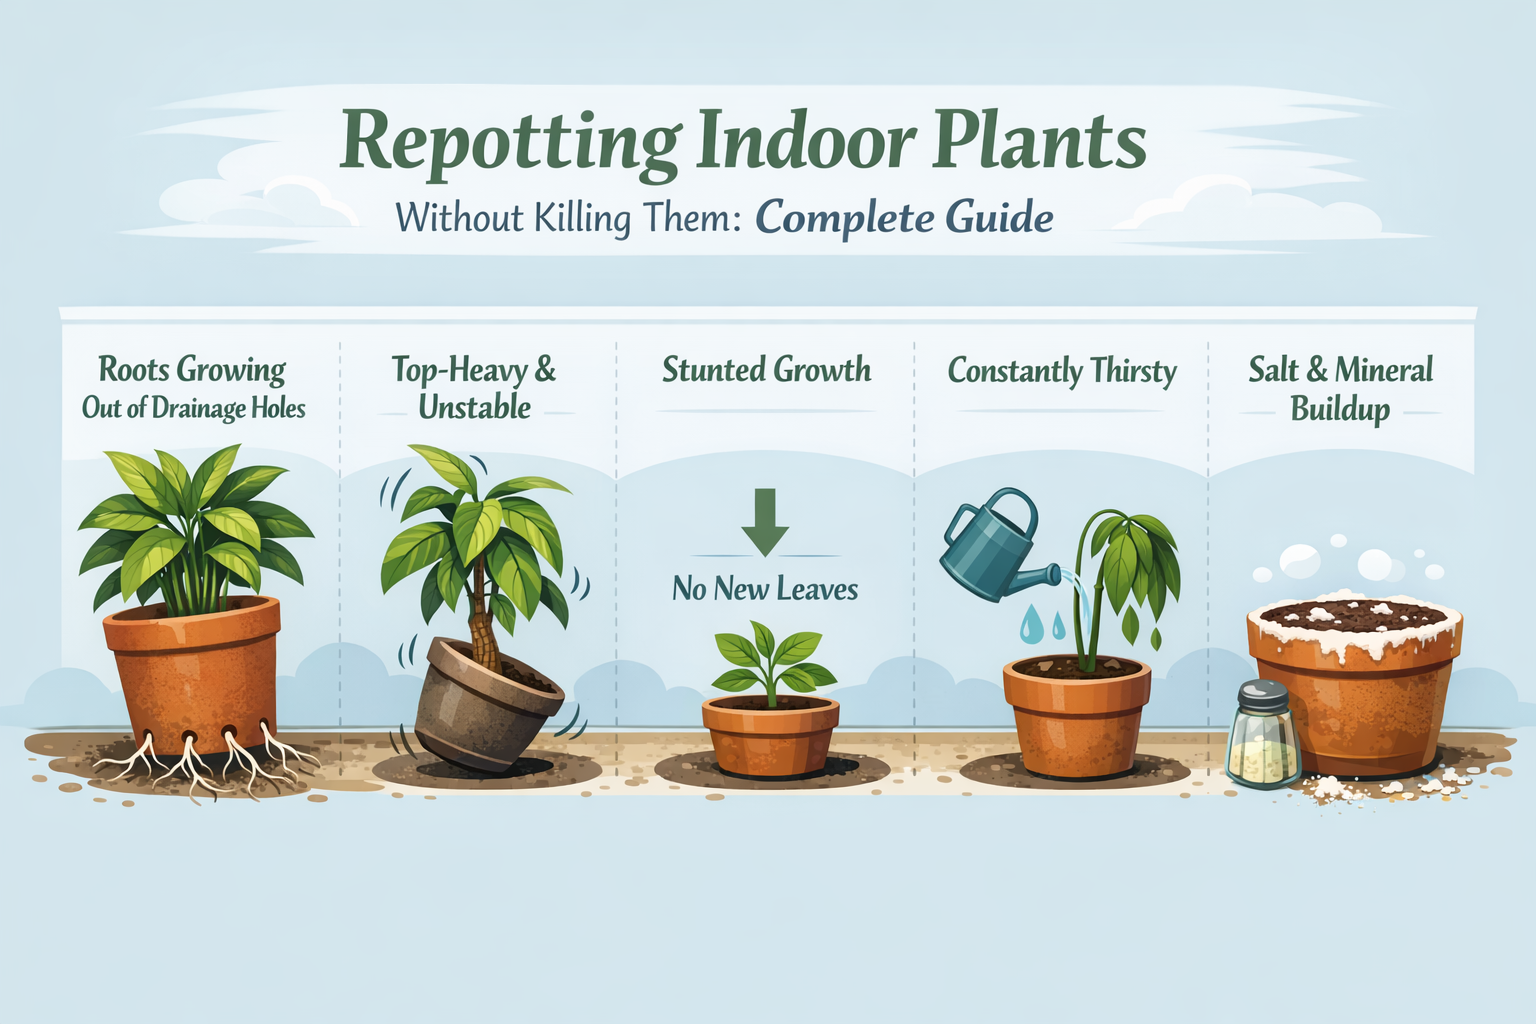
Identifying the optimal time to repot is crucial for ensuring plant survival and continued vigor. Look for these tell-tale signs:
- Roots circling the pot: If you see roots growing out of the drainage holes or tightly circling the soil surface when you gently lift the plant, it’s definitely time.
- Stunted growth: A plant that has significantly slowed its growth, despite adequate light and water, may be signaling it has run out of space for its roots to expand.
- Water drains too quickly or slowly: Water may either rush right through a root-bound plant, unable to penetrate the dense root ball, or sit on the surface because the soil has become compacted.
- Plant is top-heavy and unstable: As the foliage grows, a small pot can no longer anchor the plant, causing it to tip over easily.
- Salt and mineral buildup: A white or crusty residue on the pot’s exterior or the soil surface indicates mineral accumulation, which can hinder nutrient absorption.
- Soil degradation: Over time, potting mix breaks down, losing its structure and ability to retain nutrients effectively, even if the plant isn’t severely root-bound.
Choosing to repot based on these indicators rather than a strict schedule helps tailor the process to each plant’s individual needs. For example, a slow-growing cactus might need repotting every few years, while a fast-growing Pothos might need it annually. For comprehensive care insights, refer to our Indoor Plant Care Guide 2026: Grow Thriving Houseplants.

What Tools and Materials Do You Need for Repotting Indoor Plants?
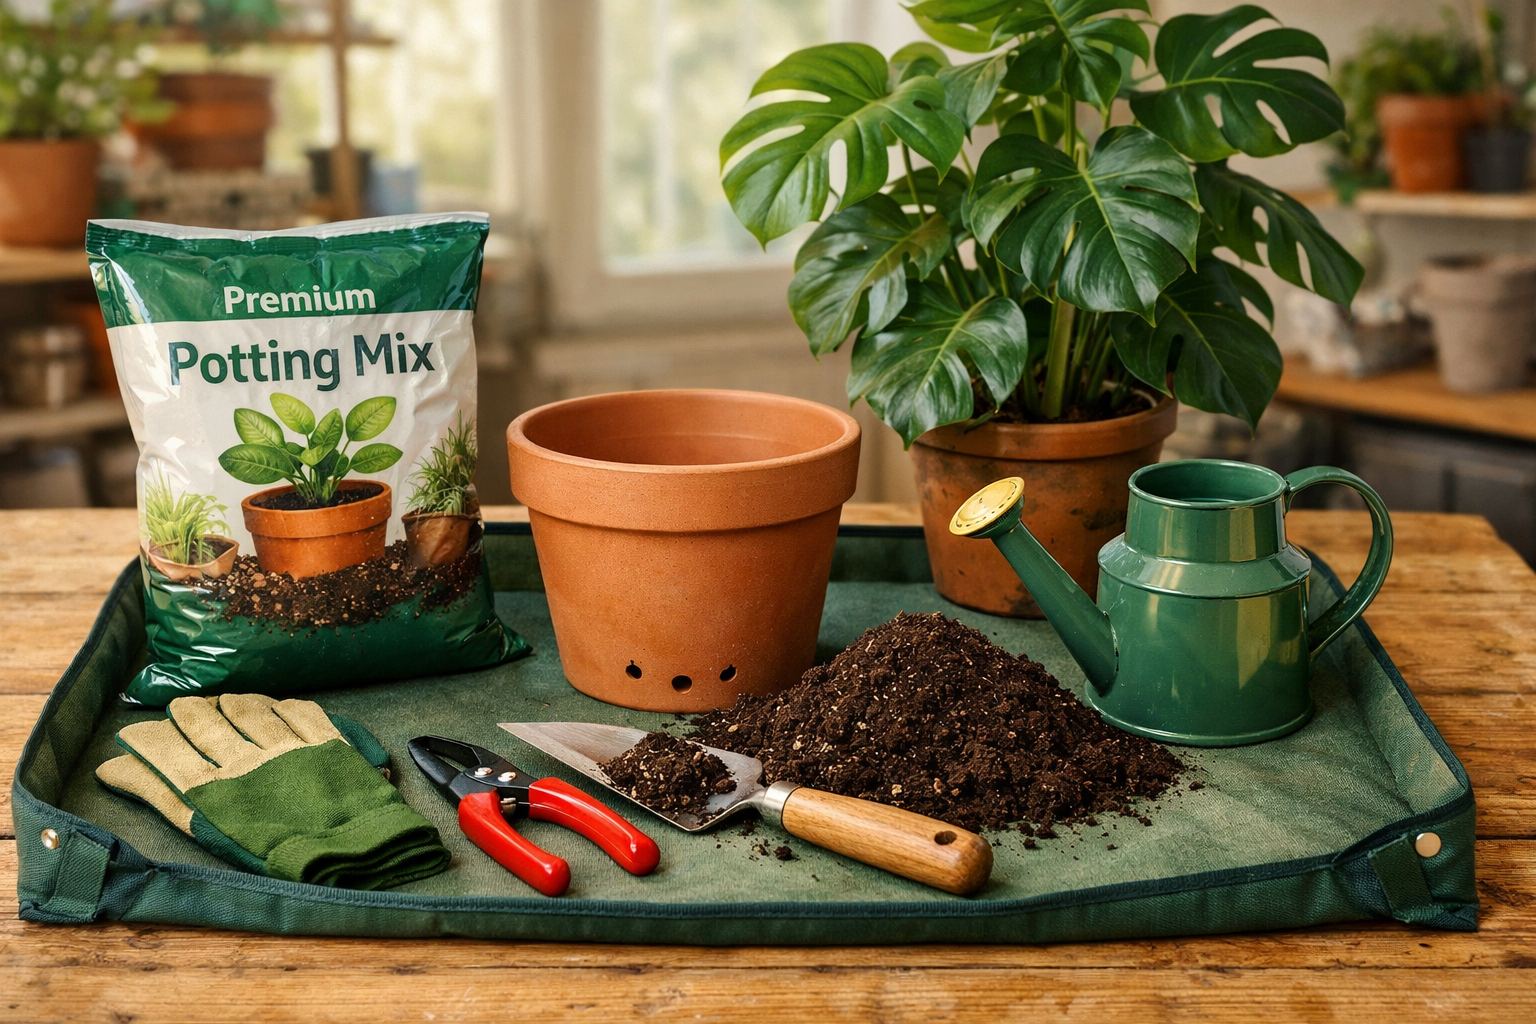
For successful repotting, you will need a few essential tools and materials, primarily a new pot that is slightly larger than the current one, fresh high-quality potting mix, and basic gardening hand tools. Having everything ready before you start minimizes stress on the plant and simplifies the process.
Gathering your supplies beforehand makes the repotting process smooth and efficient, reducing the time your plant is out of its comfortable environment.
Essential Repotting Kit
- New Pot: Choose a pot that is only 1-2 inches larger in diameter than the current one. Avoid pots that are too large, as this can lead to overwatering and root rot. Ensure it has drainage holes. For advice on selecting the ideal container, check out our Best Pots For Indoor Plants 2026: Ultimate Guide To Choosin.
- Fresh Potting Mix: The type of soil is critical. Use a high-quality, well-draining potting mix. Specific plants (like succulents, orchids, or acid-lovers) may require specialized mixes. Our guide on Best Soil For Indoor Plants: Your 2026 Expert Guide offers detailed recommendations.
- Gardening Gloves: Protect your hands from soil, thorns, and potential irritants.
- Trowel or Small Shovel: For scooping soil and gently loosening the plant.
- Pruning Shears or Scissors: Useful for trimming dead or circling roots. Ensure they are clean and sharp to prevent disease transmission.
- Watering Can: For pre- and post-repotting watering. Our Indoor Watering Guide: Master Houseplant Hydration In 2026 provides excellent tips.
- Newspaper or Tarp: To protect your work surface and make cleanup easier.
- Optional: Rooting Hormone: For plants that are particularly sensitive or if you plan to take cuttings.
Decision Rule: Choose a pot that is not significantly larger than the current one. A common mistake is moving a plant into a pot that is too big, which can hold too much moisture, leading to anaerobic conditions and root rot because the roots can’t absorb all the water quickly enough. Stick to a pot that is only one size up.

Step-by-Step Guide to Repotting Indoor Plants Without Killing Them
Repotting correctly involves a series of gentle steps, from preparing the plant to settling it into its new home, all designed to minimize shock and encourage rapid recovery. Following these steps carefully will significantly increase your success rate in repotting indoor plants without killing them: a complete guide.
Repotting Checklist
- Prepare Your Workspace:
- Lay down newspaper or a tarp to catch spilled soil.
- Gather all your tools and materials.
- Ensure your new pot has drainage holes. If not, drill some or choose another pot.
- Water Your Plant:
- Water the plant thoroughly a day or two before repotting. This makes the soil cohesive, easier to remove, and reduces shock.
- Remove the Plant from its Old Pot:
- Gently turn the potted plant on its side or upside down, supporting the base of the plant with one hand.
- Tap the rim of the pot against your work surface or gently squeeze flexible plastic pots to loosen the root ball.
- Carefully slide the plant out of its pot. Avoid pulling directly on the stem. If it’s stuck, you may need to run a knife around the inner edge of the pot.
- Inspect and Untangle Roots:
- Once the plant is out, gently loosen the roots at the bottom and sides with your fingers or a small trowel.
- Trim any dead, mushy, or excessively long roots using clean pruning shears.
- If roots are severely circling, make a few vertical cuts (1-2 inches deep) along the sides of the root ball to encourage new outward growth.
- Add Fresh Potting Mix to the New Pot:
- Place a layer of fresh potting mix at the bottom of the new pot, ensuring the plant will sit at the same depth as it was in its previous pot. The top of the root ball should be about 1 inch below the rim of the new pot.
- Avoid adding gravel or pot shards at the bottom; this practice does not improve drainage and can actually create a perched water table, leading to root problems.
- Position the Plant:
- Center the plant in the new pot.
- Backfill with fresh potting mix, gently tamping it down to remove large air pockets. Ensure the soil is even around the root ball, leaving about an inch of space from the rim for watering.
- Water Thoroughly:
- Water the plant immediately and generously until water drains from the bottom. This helps settle the soil and eliminate remaining air pockets around the roots.
- Post-Repotting Care:
- Place the repotted plant in a location with indirect light and slightly higher humidity for a week or two to help it recover from the shock. Avoid direct sunlight immediately after repotting.
- Do not fertilize for at least 3-4 weeks to allow the roots to heal and adjust. For more on general plant care, consult our Indoor Plant Care Guide 2026: Grow Thriving Houseplants.
By following these precise steps, you provide your plant the best chance for a stress-free transition and continued healthy growth.
Common Mistakes to Avoid When Repotting Indoor Plants
Even with the best intentions, several common errors can lead to plant stress or failure during repotting. Avoiding these pitfalls is as important as following the correct steps for repotting indoor plants without killing them: a complete guide.
Pitfalls to Sidestep
- Choosing Too Large a Pot: As mentioned earlier, a pot that is significantly bigger than the previous one holds excess moisture, which can quickly lead to root rot. Aim for a pot that is only 1-2 inches larger in diameter. If you’re unsure about sizing, our Choose Pot Size For Container Plants: 2026 Expert Guide offers detailed guidance.
- Using the Wrong Potting Mix: Garden soil or old, depleted potting mix is unsuitable for indoor plants. Always use fresh, high-quality indoor potting mix appropriate for your specific plant type. For example, succulents need a fast-draining mix, while ferns prefer a more moisture-retentive one.
- Rough Handling of Roots: Tearing or excessively disturbing the root ball can cause significant shock. While some gentle teasing is necessary, avoid aggressive pulling or cutting unless roots are truly dead or severely circling.
- Repotting at the Wrong Time: Repotting during a plant’s dormant period (e.g., late fall or winter) can hinder its ability to recover. Plants are most resilient when they are actively growing, usually in spring or early summer.
- Not Watering After Repotting: Watering immediately helps the soil settle around the roots and removes air pockets, which are crucial for root-to-soil contact.
- Fertilizing Immediately: Fresh potting mix typically contains enough nutrients for several weeks. Adding fertilizer too soon can burn fragile, newly disturbed roots. Wait about a month.
- Ignoring Drainage Holes: A pot without drainage holes is a recipe for root rot, regardless of how carefully you water. Always ensure your pot allows excess water to escape.
- Too Much Direct Sunlight Post-Repotting: A newly repotted plant is vulnerable. Placing it in direct, intense sunlight can exacerbate repotting shock. Provide a period of indirect light to allow it to acclimate.
By being mindful of these common mistakes, you can significantly reduce the risk of harming your plants during the repotting process and ensure they thrive in their new containers.
Post-Repotting Care: Nurturing Your Plant’s Recovery
After repotting, your plant enters a crucial recovery phase where careful attention to its environment and needs can prevent shock and promote robust new growth. Providing appropriate post-repotting care is key to repotting indoor plants without killing them: a complete guide.
What to Expect and How to Respond
- Initial Watering: Water thoroughly immediately after repotting to settle the soil and eliminate air pockets. This is often the only watering needed for the first few days.
- Temporary Droop or Yellowing: It’s normal for plants to show some signs of stress, such as slight drooping or a few yellow leaves, in the days following repotting. This is called transplant shock and typically resolves as the plant adjusts. Resist the urge to overwater or fertilize.
- Light Conditions: Place the plant in a spot with indirect, bright light. Avoid direct, harsh sunlight for at least 1-2 weeks. This reduces the immediate stress on its root system. For plants that thrive in lower light conditions, consult our Low Light Indoor Plants: Your 2026 Guide To Easy Greenery.
- Humidity: If possible, providing slightly higher humidity (e.g., placing it near a humidifier or on a pebble tray) can aid recovery, especially for tropical plants.
- Watering Schedule: Resume your normal watering schedule only once the top inch or two of the new soil feels dry. Be cautious not to overwater, as the plant’s root system might not yet be fully functional in the new soil volume. Our How Often Should You Water Container Plants? 2026 Expert Guide can help you establish the right rhythm.
- Fertilization: Do not fertilize for at least 3-4 weeks after repotting. Fresh potting mix usually contains enough nutrients, and new roots are sensitive to fertilizer burn.
- Patience is Key: Allow your plant time to adjust. Observe it daily for signs of recovery and new growth. New leaves are a strong indicator of successful repotting.
If your plant continues to decline significantly after a few weeks, gently check the moisture level in the soil, ensure it’s not sitting in standing water, and re-evaluate its light conditions. Sometimes, severe transplant shock requires patience and consistent, gentle care rather than aggressive intervention.
What is Repotting Shock and How Can You Prevent It?
Repotting shock, also known as transplant shock, is a temporary condition where a plant struggles to adapt to its new environment after being moved, often manifesting as drooping, yellowing leaves, or stalled growth. You can prevent it by minimizing root disturbance, choosing the right pot size, and providing gentle post-repotting care.
Understanding and Mitigating Repotting Shock
Repotting shock occurs because the plant’s delicate root system is disturbed, making it less efficient at absorbing water and nutrients temporarily. This is similar to how humans might feel disoriented after a big move.
Common Symptoms of Repotting Shock:
- Drooping Leaves: The most common sign, indicating the roots are struggling to supply enough water to the foliage.
- Yellowing Leaves: Especially lower leaves, as the plant sheds older foliage to conserve energy.
- Stalled Growth: A pause in new leaf development or overall growth.
- Leaf Drop: In more severe cases, leaves may fall off.
Strategies to Prevent Repotting Shock:
- Minimize Root Disturbance: Be as gentle as possible when removing the plant from its old pot and loosening the roots. The less stress on the roots, the faster the plant recovers.
- Proper Pot Size: Avoid a pot that is too large. A pot that is only 1-2 inches wider in diameter ensures the roots don’t have to spread too far into uncolonized soil, which can lead to overwatering.
- Use Quality Potting Mix: Fresh, appropriate potting mix provides good aeration and drainage, which is vital for root health.
- Water Before and After: Water the plant a day or two before repotting to hydrate it fully, and then water immediately after to settle the new soil.
- Optimal Timing: Repot during the plant’s active growing season (spring or early summer) when it has the energy to recover quickly.
- Provide a “Recovery Room”: After repotting, place the plant in a location with stable temperatures, indirect light, and slightly higher humidity. Avoid drastic environmental changes immediately.
- Resist Immediate Fertilization: Allow the roots to heal before introducing new nutrients.
By meticulously following these preventative measures, you significantly reduce the chances of your plant experiencing severe repotting shock, ensuring it remains healthy and vibrant.
FAQ: Repotting Indoor Plants Without Killing Them
How often should indoor plants be repotted?
Most indoor plants need repotting every 12-18 months, though fast-growers might need it annually, and slow-growers every 2-3 years. Look for signs like roots escaping drainage holes, not a strict schedule.
Can I repot a plant into a significantly larger pot?
No, repotting into a significantly larger pot (more than 1-2 inches wider) is generally discouraged. It can lead to excess moisture retention and root rot because the roots cannot efficiently absorb water from the large volume of soil.
What kind of soil should I use for repotting?
Always use fresh, high-quality indoor potting mix appropriate for your specific plant type. For example, cacti and succulents need a well-draining mix, while tropical plants prefer something more moisture-retentive.
Should I water a plant immediately after repotting?
Yes, water thoroughly immediately after repotting. This helps settle the new soil around the roots and removes any air pockets, which is crucial for establishing good root-to-soil contact.
Is it normal for a plant to droop after repotting?
Yes, some temporary drooping or yellowing of leaves is normal after repotting, often referred to as transplant shock. It usually resolves within a week or two as the plant adjusts to its new environment.
When is the worst time to repot an indoor plant?
The worst time to repot is during a plant’s dormant period, typically late fall or winter, when its growth has slowed. Repotting during dormancy can make it harder for the plant to recover from the stress.
Do I need to fertilize my plant after repotting?
No, do not fertilize immediately after repotting. Fresh potting mix usually contains sufficient nutrients for the first few weeks, and newly disturbed roots are sensitive to fertilizer burn. Wait at least 3-4 weeks.
Conclusion
Mastering the art of repotting indoor plants without killing them: a complete guide is a fundamental skill for any houseplant enthusiast. By understanding the signs your plant needs a new home, gathering the right tools, executing the repotting process with care, and providing attentive post-repotting care, you empower your plants to continue growing and thriving for years to come. Remember, patience and observation are your best allies throughout this process. Don’t be afraid to give your green companions the space they need to flourish—they’ll reward you with lush foliage and vibrant health.