Growing Chili in Pots: 2026 Expert Guide for Bountiful Harvests
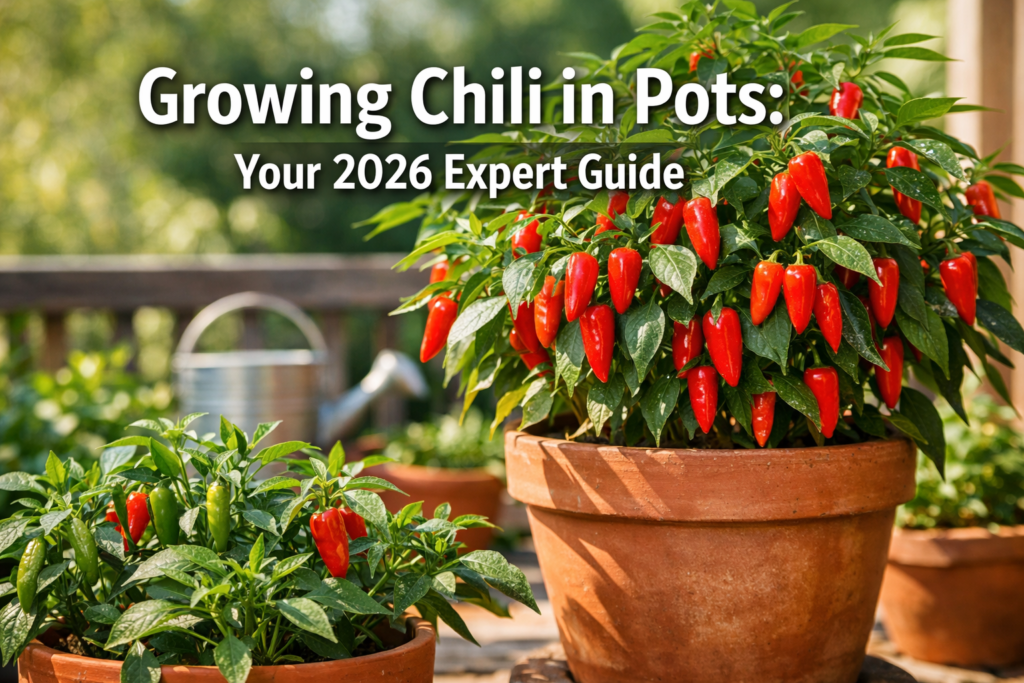
Harvesting fresh, fiery chilies from your own patio or balcony is incredibly rewarding, and growing chili in pots makes this achievable for almost anyone, regardless of garden size. This comprehensive guide will walk you through the entire process, from selecting the right varieties to ensuring a bountiful harvest in 2026.
Key Takeaways
- Choose the right pot size: 3-5 gallons (at least 12 inches deep) for most varieties, 5+ gallons for larger peppers.
- Use a high-quality, well-draining potting mix, enriched with compost and organic fertilizer.
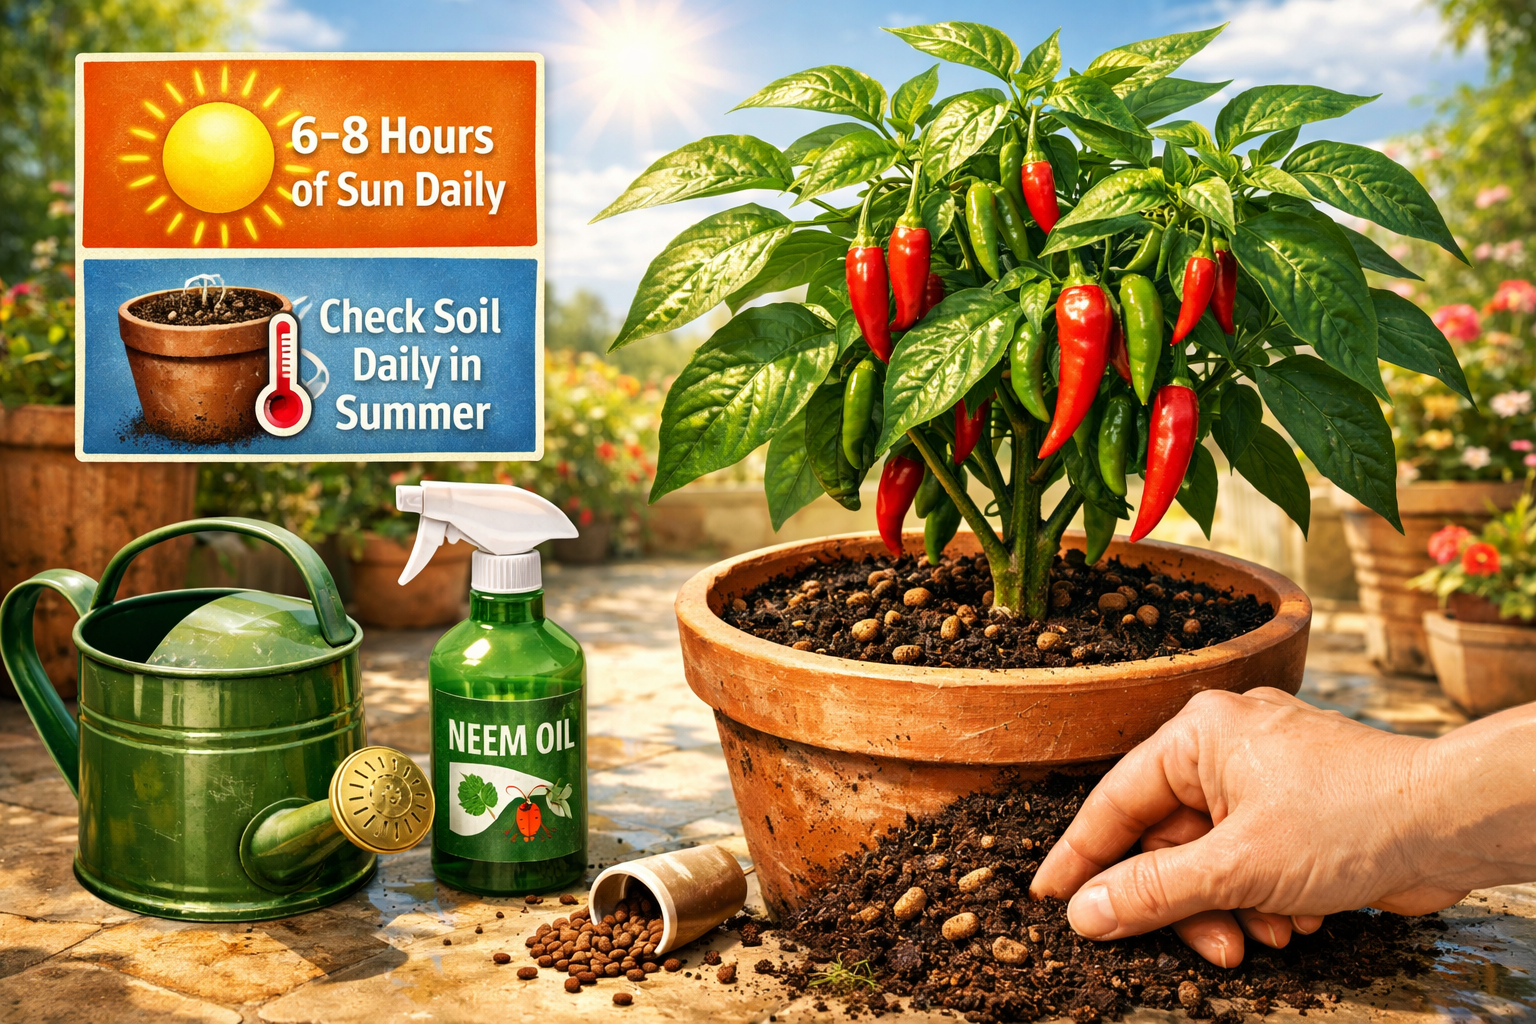
- Ensure chili plants receive 6-8 hours of full sunlight daily for optimal growth and fruiting.
- Water regularly, especially during hot weather, checking soil moisture before watering.
- Start seeds indoors 6-8 weeks before the last frost or purchase healthy seedlings.
- Harden off seedlings gradually before transplanting them to their final outdoor pots.
- Fertilize every 2-4 weeks with a balanced organic liquid fertilizer once flowering begins.
- Harvest chilies when they reach their mature color and size for the best flavor.
Quick Answer
Growing chili in pots is an effective way to cultivate these versatile plants, especially for gardeners with limited space. Success hinges on selecting appropriate container sizes, using nutrient-rich potting mix, providing ample sunlight, and maintaining consistent watering and feeding routines.
Selecting the Right Pots and Varieties for Growing Chili in Pots
Choosing the correct container and chili variety is the first step towards a successful harvest when growing chili in pots. The right pot supports healthy root development, while suitable varieties thrive in confined spaces.
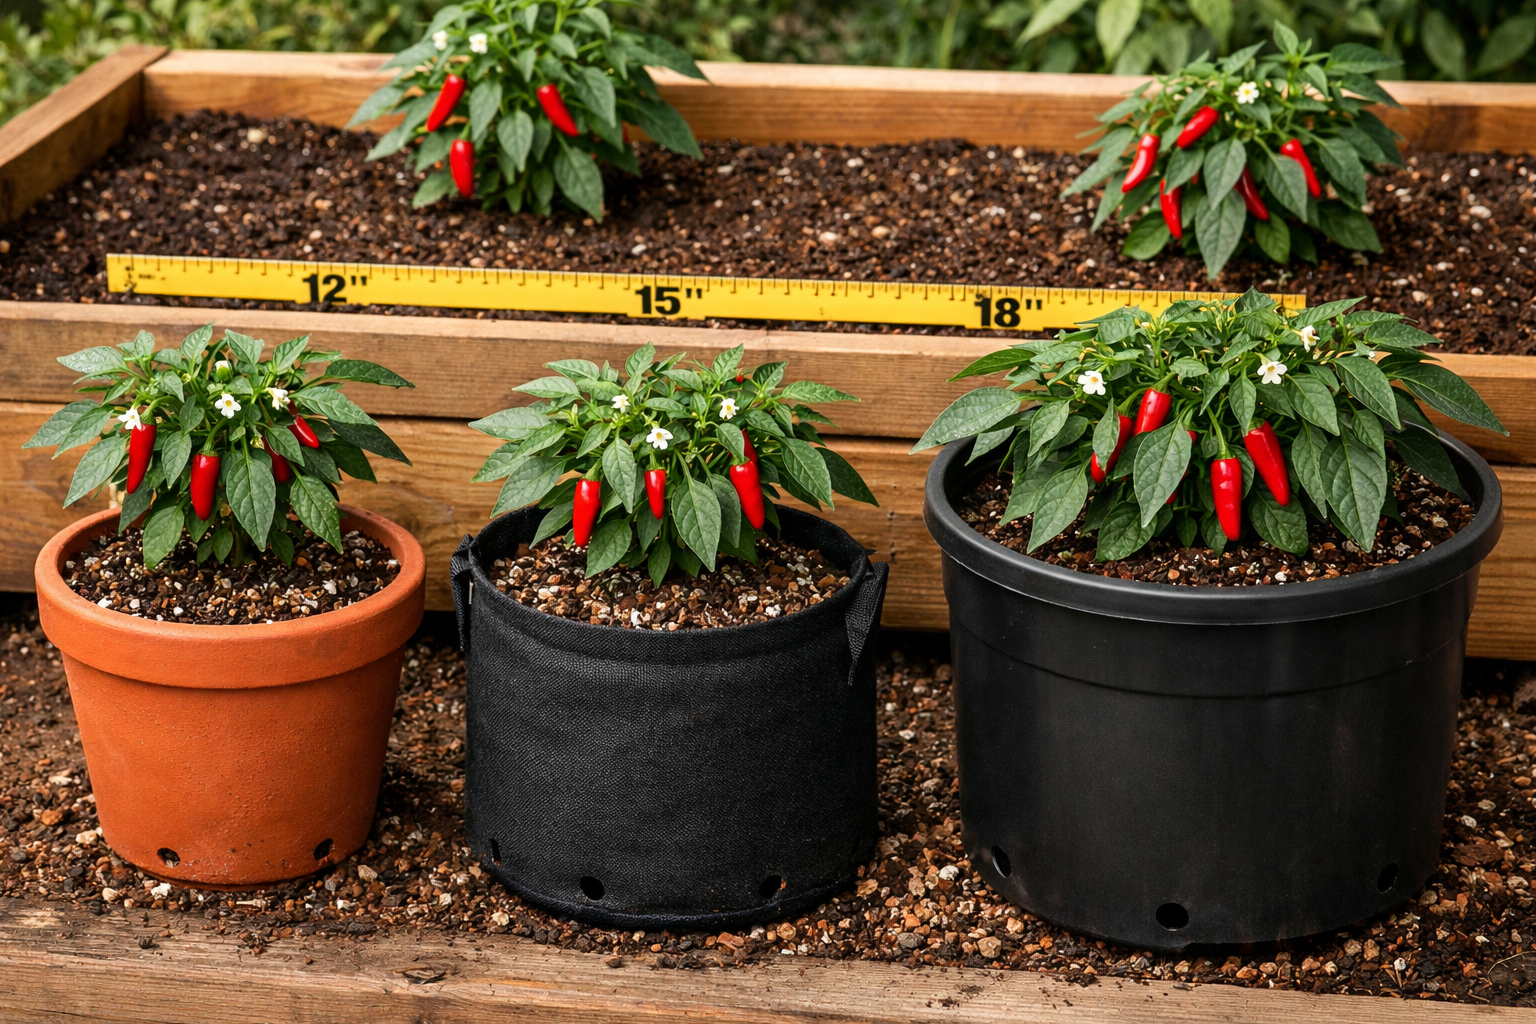
For most chili varieties, a container of 3–5 gallons in capacity and at least 12 inches deep is ideal to allow sufficient room for root growth and nutrient uptake [1]. Larger varieties, such as Bell Peppers or certain super-hots, may benefit from 5+ gallon containers to promote stronger root systems and increase potential yields [1]. When selecting materials, options like plastic box planters, 5-gallon buckets, and fabric grow bags are all effective, with fabric pots offering superior aeration and drainage [1]. If you’re looking for versatile options, explore the “Best Pots for Small Space Gardening in 2026” for more ideas.
Consider these factors when choosing a pot:
- Size: A 3-5 gallon pot is a good starting point for most peppers. Larger pots (5+ gallons) are better for bigger plants or if you want multiple plants in one planter box [1].
- Drainage: Essential to prevent root rot. Ensure your chosen container has ample drainage holes at the bottom.
- Material: Plastic retains moisture well, terracotta breathes but dries faster, and fabric grow bags offer excellent aeration [1]. Choose plastic or fabric if you want to water less frequently, or terracotta if you live in a very humid climate.
When considering chili varieties for containers, opt for compact or dwarf types if space is very limited. However, many standard varieties also perform exceptionally well in pots. Some popular choices include:
- Jalapeño: A classic, moderately spicy pepper, known for its consistent production.
- Serrano: Produces smaller, hotter peppers, and plants tend to be more upright.
- Cayenne: Long, thin, hot peppers, perfect for drying or making hot sauce.
- Thai Chili: Compact plants that can produce hundreds of small, very hot peppers [2]. These are excellent choices for “Easy Plants to Grow in Small Spaces (2026 Guide)”.
- Bell Peppers: While larger, many bell pepper varieties do well in 5-gallon or larger containers.
Decision Rule: Choose a 3-5 gallon pot for a single average-sized chili plant. If you plan to grow multiple plants in a single rectangular planter box, space them 12–18 inches apart to prevent competition for nutrients and stunted growth [1].
Essential Soil and Sunlight Requirements for Growing Chili in Pots
Providing the correct soil and sufficient sunlight are foundational elements for healthy chili plants in containers. These factors directly influence growth, flowering, and fruit production.
Chili plants require 6–8 hours of full sun daily for healthy flowering and robust fruit production [1]. A location that receives direct, unfiltered sunlight for the majority of the day is crucial. If you live in an area with extremely intense afternoon sun, some partial shade during the hottest part of the day can prevent leaf scorch, but generally, more sun is better for chilies.
For potting mix, avoid using garden soil, as it can be too heavy and may contain pests or diseases. A high-quality, well-draining potting mix specifically designed for containers is vital [4]. I recommend a blend that provides both drainage and nutrient retention. A good formula is 60% compost, 20% sphagnum peat moss, and 20% wood fines, with the addition of a half cup of organic vegetable fertilizer to kickstart nutrient availability [2]. This blend supports strong root development and provides a steady supply of nutrients. You can learn more about soil composition in “Soil Basics for Container Gardening: 2026 Expert Guide”.
Common Mistake: Using garden soil directly in pots. Garden soil compacts easily in containers, restricting root growth and drainage, leading to waterlogged conditions that chilies hate. Always use a specialized potting mix [4].
Starting Chili Seeds and Transplanting in Containers
Successfully growing chili in pots often begins with properly starting seeds and carefully transplanting seedlings. This process ensures a strong start for your plants.
To get a head start, begin chili seeds indoors approximately 6–8 weeks before the last expected frost date in your region [1]. Sow seeds about 1/4 inch deep in seed-starting trays or small pots filled with a sterile seed-starting mix. Maintain consistent moisture and warmth (around 75-85°F or 24-29°C) for optimal germination. A heat mat can significantly improve germination rates.
Once seedlings have developed a few sets of true leaves and the threat of frost has passed, they are ready for transplanting into their final containers. Before moving them outdoors permanently, it’s essential to harden off seedlings [3]. This process gradually acclimates them to outdoor conditions like wind, direct sun, and temperature fluctuations, preventing shock. Start by exposing them to 2–3 hours of sunlight for about three days, gradually increasing exposure over a week or two [3].
When transplanting:
- Prepare the Pot: Fill your chosen 3-5 gallon pot (or larger) with your high-quality potting mix (e.g., 60% compost, 20% sphagnum peat moss, 20% wood fines, plus organic fertilizer) [2].
- Dig a Hole: Create a hole large enough to accommodate the seedling’s root ball.
- Gently Remove Seedling: Carefully remove the seedling from its tray or small pot, trying not to disturb the roots too much.
- Place and Backfill: Position the seedling in the hole so that the top of its root ball is level with the surrounding soil. Backfill with potting mix, gently firming it around the base of the plant.
- Water Thoroughly: Water immediately after transplanting to help settle the soil and reduce transplant shock.
Edge Case: If your seedlings become leggy (tall and spindly) before transplanting, you can plant them a bit deeper in their final pot, burying part of the stem to encourage stronger root growth from the buried section.
Watering and Fertilizing Strategies for Growing Chili in Pots
Proper watering and consistent fertilization are critical for maximizing yield and maintaining healthy plants when growing chili in pots. Container plants have different needs than those in the ground.
Chili plants in containers require vigilant watering, especially during warm weather. During peak summer heat, container peppers may need daily watering [1]. The best way to determine if your plant needs water is to check the soil moisture. Stick your finger about 1 inch deep into the soil; if it feels dry, it’s time to water [2]. Water thoroughly until you see water draining from the bottom of the pot, ensuring the entire root ball is moistened. Overwatering can be as detrimental as underwatering, leading to root rot. For detailed watering advice, see “How Often Should You Water Plants? Ultimate Guide 2026”.
Chili plants are heavy feeders, especially once they start flowering and producing fruit. Since container potting mixes often have limited nutrients that deplete over time, regular fertilization is essential.
- Initial Feeding: If you incorporated organic vegetable fertilizer into your potting mix at planting [2], your plants will have a good start.
- Ongoing Fertilization: Once your chili plants begin to flower, switch to a fertilizer that is slightly higher in phosphorus and potassium to support fruit development. A balanced organic liquid fertilizer applied every 2-4 weeks is generally sufficient. Avoid excessive nitrogen, which can promote leafy growth at the expense of fruit production.
- Signs of Deficiency: Yellowing leaves can indicate a nutrient deficiency, while curled or scorched leaves might suggest over-fertilization.
Quick Example: For a 3-gallon pot, use a liquid organic fertilizer diluted according to package instructions, applying it every three weeks once flowering starts. For a larger 5-gallon pot, you might apply a slightly larger quantity or increase frequency if the plant shows signs of nutrient demand.
Pest and Disease Management for Potted Chili Plants
Protecting your potted chili plants from pests and diseases is crucial for a successful harvest. Early detection and proactive measures are key to keeping your plants healthy.
Even when growing chili in pots, pests like aphids, spider mites, and whiteflies can become an issue. Regularly inspect the undersides of leaves and new growth for any signs of infestation.
- Aphids: Small, pear-shaped insects that cluster on new growth. Blast them off with a strong stream of water or apply insecticidal soap.
- Spider Mites: Tiny pests that create fine webbing. Increase humidity around the plant and use neem oil or insecticidal soap.
- Whiteflies: Small, white, moth-like insects that fly up when disturbed. Use sticky traps and neem oil.
Diseases in potted chilies are often related to environmental stress or poor sanitation.
- Fungal Issues (e.g., powdery mildew): Caused by high humidity and poor air circulation. Ensure good spacing between plants (12-18 inches if in a large planter box) [1], water at the soil level, and improve airflow. Fungicides can be used as a last resort.
- Root Rot: Primarily caused by overwatering and poorly draining soil. This is why excellent drainage in your pots and a well-aerated potting mix are non-negotiable.
Decision Rule: For minor pest issues, start with organic and non-toxic methods like hand-picking or strong water sprays. Only escalate to organic pesticides like neem oil or insecticidal soap if the infestation persists or worsens. Always follow product instructions carefully.
Harvesting and Storing Your Potted Chili Peppers
The culmination of your efforts in growing chili in pots is the harvest, followed by proper storage to enjoy your homegrown peppers.
Most pepper varieties begin producing fruit approximately 60–90 days after transplanting, though this can vary depending on the specific variety and growing conditions [1]. Chilies are typically ready to harvest when they reach their mature size and color. This could be green for early harvest, or red, yellow, orange, or even purple depending on the specific variety.
- When to Harvest: Harvest peppers when they are firm, fully colored (unless you prefer them green), and reach their expected size.
- How to Harvest: Use clean pruning shears or a sharp knife to snip the stem just above the pepper. Avoid pulling the peppers, as this can damage the plant and reduce future yields. Harvesting regularly encourages the plant to produce more fruit. Some varieties, like Thai chilies, are known for their prolific production, potentially yielding hundreds of peppers per plant [2].
Once harvested, your chili peppers can be used fresh or stored for later use:
- Fresh: Store unwashed peppers in a plastic bag in the refrigerator’s crisper drawer for up to 1-2 weeks.
- Freezing: For longer storage, wash and dry peppers, then chop or leave whole. Place them on a baking sheet to freeze individually, then transfer to freezer bags. They can last for several months.
- Drying: Chilies can be air-dried, oven-dried on low heat, or dehydrated. Dried chilies are perfect for making chili powder or flakes.
- Pickling: A popular method for preserving a large harvest, allowing you to enjoy your chilies for months.
Quick Example: If you’re growing Jalapeños, they can be harvested green for a milder flavor or allowed to ripen to red for increased heat and sweetness. Regular harvesting of green jalapeños will often lead to a greater overall yield.
Conclusion
Growing chili in pots is an incredibly rewarding endeavor, transforming even the smallest spaces into productive gardens. By focusing on the fundamentals—choosing the right containers and varieties, providing ample sunlight, using quality potting mix, and maintaining consistent care—you can enjoy a plentiful harvest of fresh, flavorful chilies in 2026. Remember that patience and observation are key; your plants will often tell you what they need. Start small, learn as you go, and savor the heat of your homegrown efforts.
Related Reading
- Beginner’s Guide to Plant Care 2026: Grow Thriving Plants
- Container Gardening – Mini Space Garden | Small Space Gardening Ideas
- Ultimate Guide to Small Space Gardening for Beginners 2026
FAQ
Q: What is the best pot size for growing a single chili plant?
A: For most chili varieties, a 3-5 gallon container that is at least 12 inches deep is ideal for optimal growth and root development [1].
Q: How much sun do chili plants in pots need?
A: Chili plants require 6-8 hours of full, direct sunlight daily to promote healthy flowering and abundant fruit production [1].
Q: Can I use regular garden soil for growing chili in pots?
A: No, it’s best to avoid regular garden soil, as it can be too heavy and lead to poor drainage and compacted roots in containers. Use a specialized, well-draining potting mix [4].
Q: When should I start chili seeds indoors?
A: Start chili seeds indoors approximately 6-8 weeks before your region’s last expected frost date to give them a head start [1].
Q: How often should I water my potted chili plants?
A: Check the soil moisture daily, especially during peak summer heat. Water thoroughly when the top 1 inch of soil feels dry to the touch [1, 2].
Q: How often should I fertilize potted chili plants?
A: Once chili plants begin to flower, fertilize every 2-4 weeks with a balanced organic liquid fertilizer to support fruit development.
Q: What are common pests for chili plants in pots?
A: Common pests include aphids, spider mites, and whiteflies. Regular inspection and early intervention with organic methods are recommended.
Q: How long does it take for chilies to fruit after transplanting?
A: Most pepper varieties typically start producing fruit approximately 60-90 days after being transplanted into their final containers [1].
Q: Should I plant multiple chili plants in one large pot?
A: If using a large planter box, space chili plants 12-18 inches apart to prevent nutrient competition and ensure healthy growth [1]. For individual 3-5 gallon pots, one plant per pot is optimal [1].
Q: When is the best time to harvest chilies from pots?
A: Harvest chilies when they reach their mature size and desired color, typically when they are firm and vibrant. Regularly harvesting encourages more production [1].
References
[1] How To Plant Peppers In Containers A Step By Step Guide – https://earthbox.com/blog/how-to-plant-peppers-in-containers-a-step-by-step-guide
[2] How Grow Peppers In Containers – https://nextdoorhomestead.com/blog/how-grow-peppers-in-containers/
[3] Watch – https://www.youtube.com/watch?v=UgyjnGC8N4w
[4] Container Gardening With Peppers – https://www.petittigardencenter.com/container-gardening-with-peppers/